
In the realm of cloud storage solutions, Dropbox has long been a stalwart, offering users seamless file synchronization, collaborative tools, and secure data storage. However, as with any subscription-based service, circumstances may arise where users find themselves needing to cancel their Dropbox subscription and potentially seek a refund. Navigating this process can sometimes be confusing or challenging, but fear not – this guide aims to provide clarity on canceling Dropbox subscriptions and understanding refund policies.
Understanding Dropbox Subscriptions
Dropbox offers several subscription tiers tailored to different needs, ranging from individual plans to business solutions. These plans often come with various features such as increased storage capacity, advanced collaboration tools, and enhanced security options. Users typically subscribe to a plan that aligns with their requirements and pay a recurring fee for continued access to these features.
Reasons for Canceling a Dropbox Subscription
There are myriad reasons why someone might choose to cancel their Dropbox subscription. Perhaps they’ve found an alternative service that better suits their needs, or maybe their storage requirements have changed, and they no longer require the features provided by their current plan. Financial considerations, such as budget constraints or the desire to reduce recurring expenses, can also prompt users to cancel their subscription.
Steps to Cancel a Dropbox Subscription
Canceling a Dropbox subscription is a relatively straightforward process, though the exact steps may vary slightly depending on the platform used for subscription management. Generally, users can follow these steps:
- Log into Dropbox: Access your Dropbox account using your preferred web browser or the Dropbox mobile app.
- Navigate to Subscription Settings: Locate the subscription management section within your account settings. This may be labeled as “Plan,” “Subscription,” or something similar.
- Review Subscription Details: Take a moment to review your current subscription details, including the plan you’re subscribed to and any associated benefits or limitations.
- Initiate Cancellation: Look for an option to cancel your subscription. This may be a button or link labeled “Cancel Subscription” or something similar. Follow the prompts to confirm your decision.
- Confirm Cancellation: Dropbox may ask for confirmation before processing the cancellation. Confirm that you indeed wish to cancel your subscription.
- Follow Additional Instructions: Depending on your subscription status and any ongoing billing cycles, Dropbox may provide additional instructions or information regarding the cancellation process.
- Verify Cancellation: After completing the cancellation process, verify that your subscription has been successfully canceled. You should receive a confirmation message or email from Dropbox.
Understanding Dropbox Refund Policies
Dropbox’s refund policies vary depending on factors such as the subscription plan, the timing of the cancellation, and the reason for the refund request. Here are some key points to consider:
- Refund Eligibility: Dropbox typically offers refunds within a certain timeframe after the initial purchase or renewal of a subscription. Refunds are generally not provided for partial billing periods.
- Pro-Rated Refunds: In some cases, Dropbox may offer pro-rated refunds for unused portions of prepaid subscription periods. This means that if you cancel your subscription mid-billing cycle, you may be eligible for a refund for the unused portion of that cycle.
- Refund Processing Time: It may take some time for a refund to be processed and reflected in your account or on your payment method. Be patient and allow sufficient time for the refund to be completed.
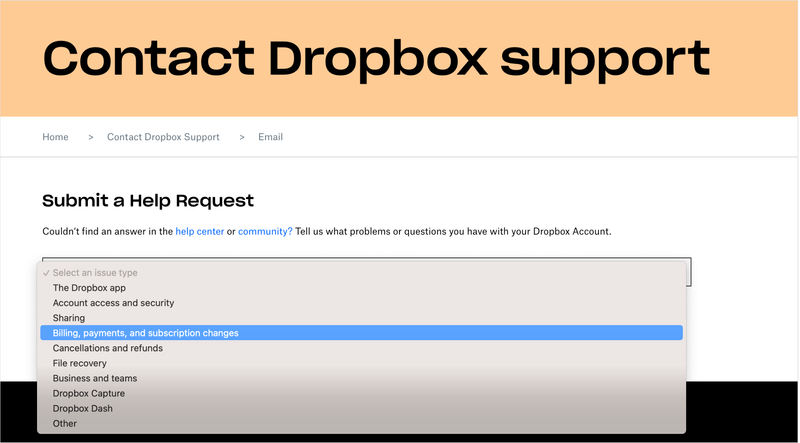
- Contacting Support: If you believe you’re eligible for a refund or have encountered any issues with the cancellation process, don’t hesitate to reach out to Dropbox customer support for assistance.
Tips for a Smooth Cancellation Experience
To ensure a smooth cancellation experience and minimize any potential complications, consider the following tips:
- Plan Ahead: If you’re considering canceling your Dropbox subscription, plan ahead and review your subscription details and billing cycle to determine the optimal timing for cancellation.
- Backup Important Data: Before canceling your subscription, ensure that you have backed up any important data stored in your Dropbox account. Once your subscription is canceled, you may lose access to certain features or storage capacity, so it’s essential to safeguard your files accordingly.
- Review Alternative Options: If you’re canceling your Dropbox subscription due to dissatisfaction with the service or features offered, take the time to explore alternative cloud storage solutions that may better meet your needs.
- Monitor Billing Statements: After canceling your subscription, monitor your billing statements to ensure that you’re no longer being charged for Dropbox services. If you continue to see charges after canceling, contact Dropbox support for assistance.
Conclusion
Canceling a Dropbox subscription and seeking a refund, if applicable, doesn’t have to be a daunting task. By understanding the steps involved, familiarizing yourself with Dropbox’s refund policies, and following best practices for a smooth cancellation experience, you can navigate this process with confidence. Whether you’re transitioning to a different storage solution or simply reassessing your subscription needs, knowing how to cancel Dropbox subscriptions and potentially obtain refunds empowers you to make informed decisions about your cloud storage usage.